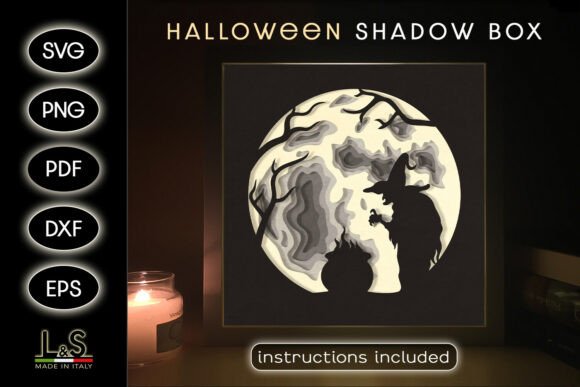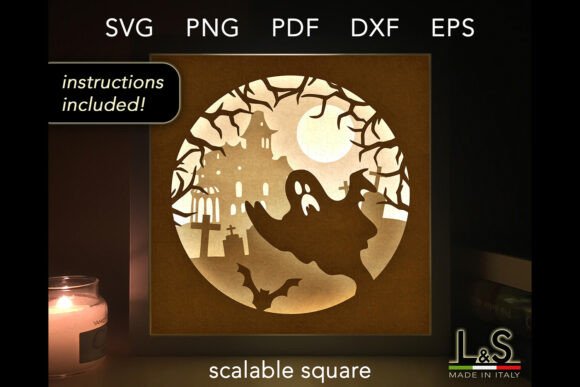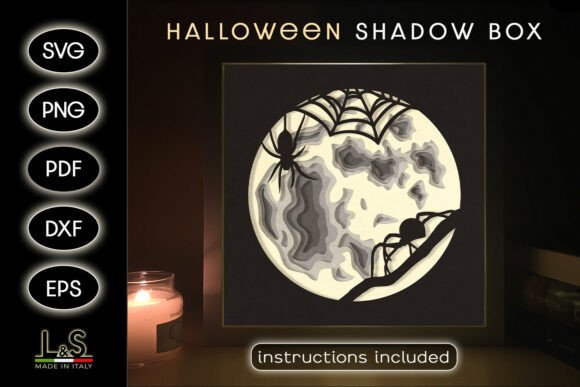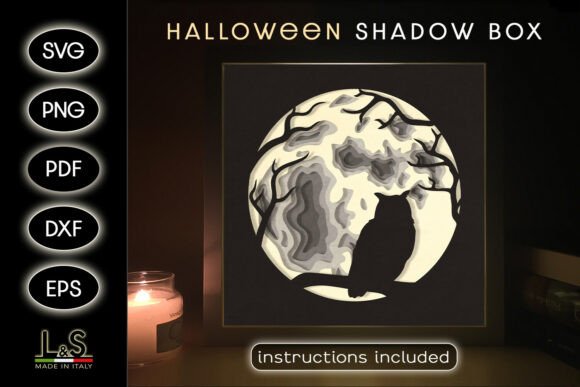
Bring a Gothic Touch to Halloween with the Halloween Wolf Shadow Box Template
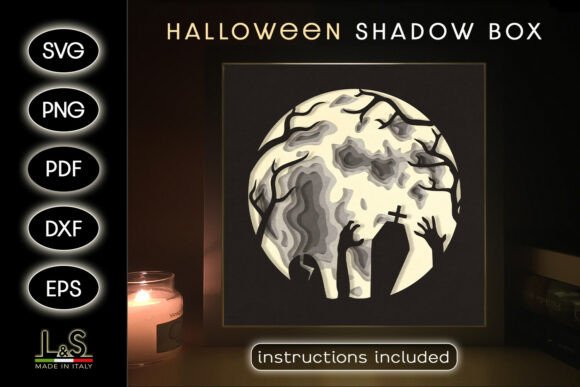
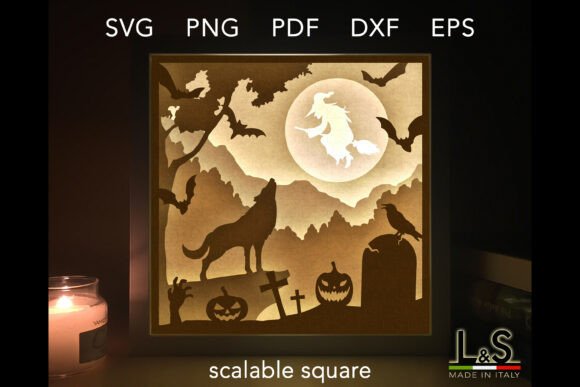
Seasonal decor often involves a balance between crafting something memorable and managing the practical constraints of time and skill. The Halloween Wolf Shadow Box Template provides a direct solution to this common creative challenge. It is a comprehensive digital file set designed for crafting a multi-layered 3D art piece, featuring the striking silhouette of a wolf against a moonlit, spooky forest backdrop. This template fits neatly into the workflow of a decorator, hobbyist, or small business owner looking to produce sophisticated Halloween displays without starting from a blank canvas.
Its primary design is for use with light boxes, where white cardstock layers allow illuminated details to shine through, creating dramatic depth and shadow. However, the template’s utility extends beyond this initial concept. The included file formats enable integration into various personal and professional processes, from rapid prototyping for a craft business to a focused weekend project for a home decorator.
A Template Designed for Integration into Your Creative Process
The Halloween Wolf Shadow Box Template acts as a foundational asset. It arrives not as a single file but as a suite, ready to plug into different stages of your production or planning. Before committing to physical materials, you can examine the PNG files with transparent backgrounds to preview the final layered effect. This allows for a planning phase where you can visualize the outcome and gather the necessary supplies listed in the PDF instructions.
The template interacts seamlessly with the tools already in your workflow. For the digital craftsperson using design software like Adobe Illustrator or Inkscape, the EPS vector file provides a modifiable base. You can adjust scales, tweak elements, or even integrate the wolf motif into larger composite designs before sending it to your cutting machine.
File Suite Compatibility: From Hand-Cutting to Automated Production
The practical value of this template is underscored by its multiple file formats, each serving a different method of execution and tool compatibility.
- SVG files are the standard for modern cutting machines like Cricut, Silhouette, Brother, and various CNC lasers. They ensure clean, precise cuts directly from your machine’s software, crucial for maintaining consistency and quality if you are producing multiple units.
- PDF files cater to the hand-cutting workflow. Printing these onto your chosen cardstock allows for a tactile, manual process. This method is excellent for beginners, for those without a cutting machine, or for a single, mindful crafting session.
- PNG files with high 300 dpi resolution offer flexibility. They can be used for digital mock-ups, imported into cutting software that accepts image files, or even for high-quality direct printing if you wish to use the layers for alternative projects.
- DXF and EPS files bridge the gap with specific professional and entry-level software. The DXF file supports Silhouette Studio Basic Edition, while the EPS file is ideal for advanced vector editing, allowing for customization before the cutting stage.
All files are logically compressed into one ZIP file, aiding in organization and efficient asset management. You download one package and extract the format that best fits your immediate toolset and plan.
Practical Implementation: Adapting the Template to Your Goals
The stated use is for an 8x8” (20x20cm) light box shadow box with six layers. Yet, the instruction “creativity has no limits” is a genuine workflow prompt. Here are several practical implementations based on different user goals.
For the Efficiency-Minded Hobbyist: If your goal is a beautiful finished piece with minimal friction, follow the included simple tutorial. Use the SVG files with your Cricut and white cardstock. The tutorial streamlines assembly, turning what could be a complex process into a project completed in just a few minutes. This prioritizes a smooth execution phase and a guaranteed quality outcome.
For the Small Business Owner Selling Decor: The template becomes a production asset. Use the CNC laser-compatible SVG files to ensure identical, professional cuts for every unit. You might experiment with different colored cardstocks to create product variations—a deep blue for a night scene, a black for a more ominous tone—without altering the core design file. This leverages the template for consistency and scalability.
For the Educator or Workshop Leader: The PDF files are perfect for a group activity. Print multiple sets in advance. The project has clear layers and a logical assembly order, making it an effective, structured creative exercise for adults. It requires preparation only in the printing and supply gathering stage, with the template handling the complex design work.
For the Creative Explorer: The template invitation to “try it without lights” or “make a unique Halloween card” opens alternative project pathways. You could use the PNG files to print a single, most detailed layer onto textured cardstock for a elegant, flat card. Or, assemble the shadow box but place it in a window to use natural light instead of LEDs. This stage occurs after the core cutting and assembly, in the final presentation decision phase.
Key Factors for Successful Integration into Your Workflow
To use the Halloween Wolf Shadow Box Template smoothly, consider a few factors around preparation, compatibility, and long-term use.
Preparation & Supply Management: The PDF instructions include a detailed supply list. Review this during your planning stage. It prompts you to gather not just cardstock, but also tools like glue, a cutting mat, a brayer, and optionally, a light box frame. Having everything at hand before you begin the cutting process prevents mid-project interruptions.
Tool Compatibility Check: Before purchase or download, confirm that your software or machine supports one of the provided file formats. Most users will default to SVG or PDF, but if you rely on specific software like Silhouette Studio Basic Edition, the included DXF file ensures compatibility, avoiding a last-minute workflow hurdle.
Organization for Long-Term Use: After downloading the ZIP file, store the extracted files in a dedicated digital folder, perhaps labeled “Seasonal Craft Templates.” If you plan to use this template annually or for multiple products, this keeps your assets organized and retrievable for future planning cycles. The template itself, as a vector-based design, is scalable and reusable, offering long-term value beyond a single Halloween season.
From Digital Asset to Physical Masterpiece: The Assembly Workflow
The transition from digital template to physical art is the core execution process. Whether cutting by hand or machine, the steps are similar: cut each layer carefully, then assemble in numerical order from back to front. The tutorial simplifies this, but a key observation for quality control is to use a brayer or similar tool to press layers firmly together, eliminating air bubbles and ensuring crisp, clean edges align perfectly. This attention during the assembly phase guarantees the professional depth effect the template is designed to create.
For those using a light box, the final integration step is placing the assembled shadow box into the light box frame. This is the culmination of the process, where the planning, cutting, and assembly phases come together to produce an illuminated piece of decor. Without a light box, your final presentation decision—placing it on a mantle, framing it conventionally, or gifting it as a card—becomes the concluding step in your personalized workflow.
The Template as a Catalyst for Creative Outcomes
Ultimately, the Halloween Wolf Shadow Box Template is more than just a set of files. It is a structured starting point that reduces the planning and design overhead for a complex 3D project. It fits into workflows at the point where a concept needs to become a tangible product. By providing multiple pathways for execution—automated or manual, illuminated or static, standard or customized—it adapts to the user’s available tools, skill level, and creative intent.
For the professional, it is a time-saving asset that ensures design consistency. For the hobbyist, it is a confidence-building project with a clear path to success. For all users, it represents a practical method to implement a sophisticated Halloween decor idea without needing to master illustration or complex 3D modeling first. The process becomes about execution and assembly, freeing you to focus on the creative choices of color, presentation, and personalization that make the final masterpiece uniquely yours.