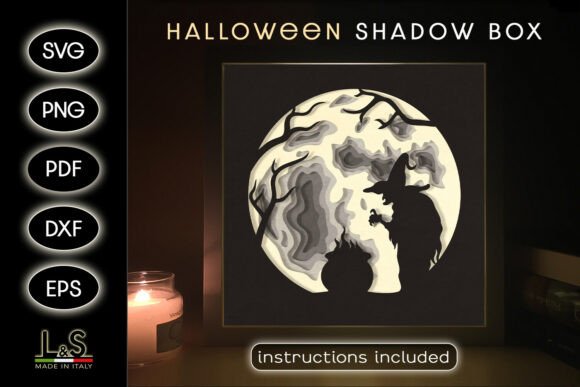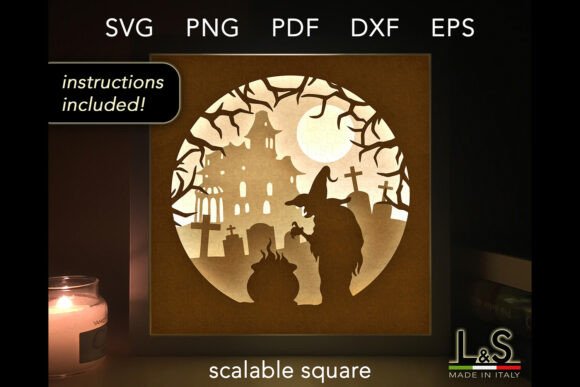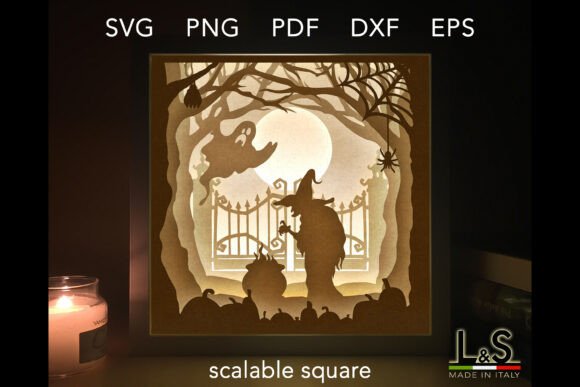
Your Guide to the Halloween Witch Shadow Box SVG Template
That moment you first see a finished layered Halloween witch shadow box is pure magic. The dimensionality, the interplay of light and shadow, and the intricate details create a stunning piece of décor that feels both nostalgic and modern. The availability of downloadable templates, like this specific Halloween Witch Shadow Box SVG, has made creating these masterpieces accessible to everyone. However, the journey from digital file to physical art can have a few hidden pitfalls. Knowing what to look for and how to approach the project can transform your experience from frustrating to flawlessly fun.
The File Format Confusion: SVG, PDF, PNG, and More
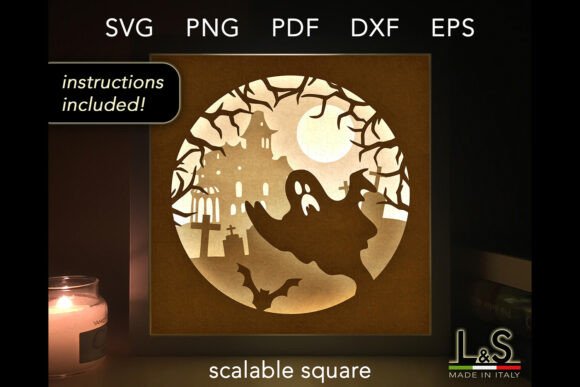
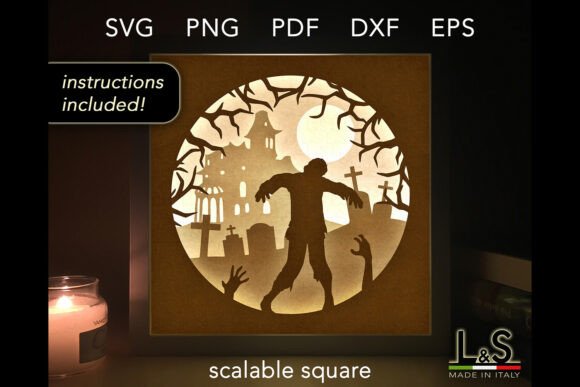
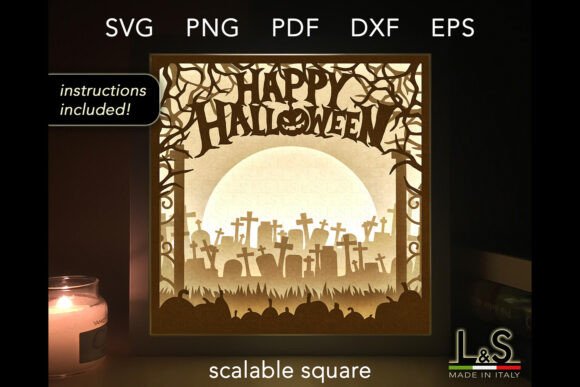
A common initial hurdle is simply understanding what you’ve downloaded. This template typically comes as a ZIP file containing multiple formats: SVG, PDF, PNG, DXF, and EPS. This isn’t redundancy; it’s thoughtful design for different tools and skill levels. The SVG files are vector-based and are the primary format for cutting machines like Cricut or Silhouette. They ensure clean, scalable cuts. The PDFs are for those who prefer to print and cut by hand, a perfectly valid approach that offers more tactile control. The PNGs with transparent backgrounds are excellent for digital previews or if you want to use software that handles raster images. The DXF and EPS files cater to specific professional software users.
The mistake here is assuming one format is “best” and ignoring the others. Before you start, open the ZIP and preview the files. Check the PDF instructions first—they often list the supplies you need, which is crucial for planning. If you’re using a cutting machine, ensure your software accepts the provided format. For instance, if you only have Silhouette Studio Basic Edition, you’ll need the included DXF file, not the SVG. This small check prevents the frustration of a file that won’t import.
Material Choice: Beyond White Cardstock
The recommendation for white cardstock is sound advice, especially for light boxes where white layers diffuse LED brightness beautifully. But the statement “creativity has no limits” is your invitation to experiment. A frequent oversight is rigidly adhering to white cardstock without considering the final environment. If you aren’t using a light box, white can look stark. Consider colored or even subtly patterned cardstock for a different mood. Metallic silver or gold layers can add a spectral shimmer. The key is weight and integrity: use cardstock that is thick enough (typically 65-80 lb) to hold the layers’ shape without warping. A flimsy material will make your shadow box look frail and collapse over time.
Also, think about the backing. The template creates a 8x8” (20x20 cm) structure. If you plan to frame it, ensure your shadow box frame depth can accommodate the 5 layered panels. Using a foam adhesive that’s too thin will compress the details; too thick might push the final layer against the glass. Measure and test with scraps.
Assembly: The Layer Order Isn’t Just Visual
The included tutorial is a lifeline for beginners, promising assembly in minutes. The potential error is rushing past the instructions to “just glue it together.” The 5 layers are designed with specific spacing to create depth. Gluing Layer 2 directly to Layer 1 without the recommended spacer (like foam dots or a cut cardstock ring) flattens the entire effect. Follow the supplied guide meticulously for your first attempt. It’s a blueprint for success. Once you understand the principle, you can confidently modify future projects.
A related, subtle mistake is adhesive choice. A wet glue like craft paste can soak through delicate cutouts, causing discoloration and weakening the paper. It also sets slowly, allowing layers to shift. Double-sided tape or precision glue pens offer cleaner, instant bonds. They preserve the crispness of your Halloween witch shadow box SVG design.
Machine Cutting Versus Hand Cutting: A Strategic Decision
The option to cut by hand or machine is empowering, but each path requires a different mindset. If you’re using a cutting machine, the crucial step is test cutting a small, intricate section of one layer on your chosen cardstock. This calibrates your blade depth and pressure. Cutting too deep can gouge your mat; too shallow leaves tiny uncut tabs that tear when you weed the piece. For hand-cutting, the better approach is not to cut the printed PDF directly with scissors. Instead, use a precision craft knife on a cutting mat. This gives you control over tight corners and internal details like the witch’s hat silhouette or broom strands, which scissors can blunt.
Regardless of method, organization is vital. Label or lightly number your cut layers on the back as you remove them from the mat or cutting sheet. Five unlabeled, similar-looking paper layers can quickly become a confusing puzzle, wasting time and risking incorrect assembly.
Seeing the Template as a Starting Point, Not a Prescription
The greatest creative opportunity—and a commonly missed one—is viewing this Halloween witch shadow box template as a single-use product. The layered design is a framework. Consider these adaptations: Use only the foreground witch and cat layer against a solid colored background to create a unique Halloween card. Print the layers on vellum for a softer, ghostly effect in a window display. Scale the SVG files down in your software to create a smaller mantle piece or ornament. The files are vectors, so scaling up or down won’t lose quality.
Before you finalize your project, ask yourself about its purpose. Is it for a brightly lit shelf? Then the light box approach with white stock is ideal. Is it for a dim, atmospheric corner? Maybe skip the lights and use charcoal gray cardstock for a mysterious silhouette effect. This decision upfront guides all your material and assembly choices, leading to a result that perfectly fits your vision.
Ultimately, this Halloween Witch Shadow Box SVG package is a toolkit. Its value lies not just in the beautiful witch design, but in the flexibility afforded by the multiple file formats, the clear instructions, and the robust 5-layer structure. By approaching it with a little preparation—checking your files, choosing materials wisely, following assembly spacing, and cutting with care—you bypass the common frustrations. What remains is the enjoyable process of building, layer by layer, a captivating piece of Halloween art that feels uniquely yours.