Kids on Christmas Day: Your Guide to a Perfect Layered Shadow Box
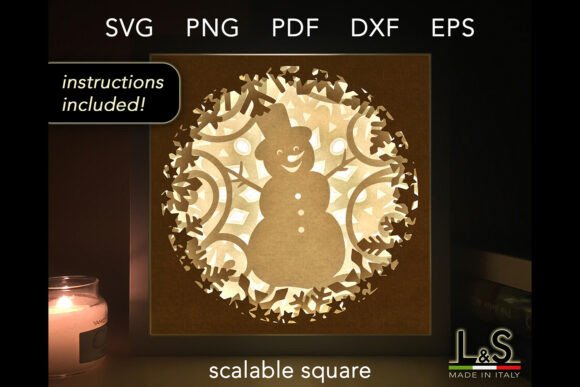
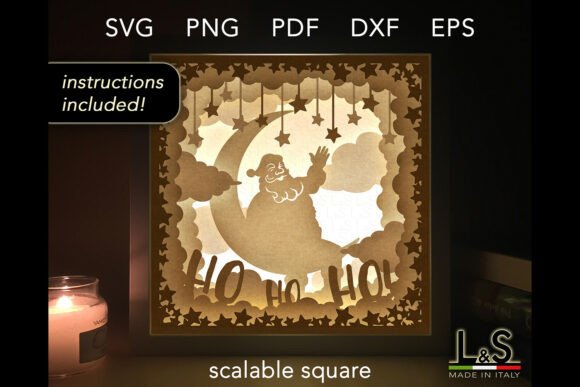
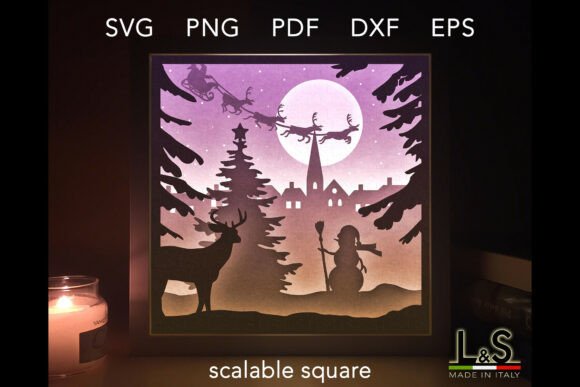
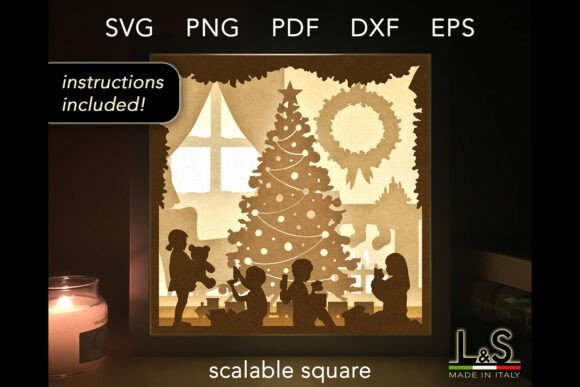
Creating a layered Christmas shadow box is a wonderful way to capture the magic of the season in a tangible, 3D art piece. The Kids on Christmas Day Shadow Box Svg template offers a charming scene of festive joy, ready to be brought to life. However, the journey from digital file to finished masterpiece involves several decisions. A few overlooked details can turn a promising project into a frustrating experience, affecting the final quality, your time, and even the cost.
Choosing the Right Materials: Beyond the Recommendation
The template recommends white cardstock for light boxes, which is excellent advice. White material allows LED lights to diffuse evenly, creating a warm, glowing effect. A common mistake is assuming this is a strict rule and not experimenting. While white is optimal for illumination, using colored cardstock without lights can produce a stunning, vintage-style layered artwork. The misunderstanding here is viewing the template as a single-use product. Instead, see it as a flexible starting point.
What often gets overlooked is the cardstock weight. Using paper that is too thin (like standard printer paper) will result in flimsy layers that sag or tear during assembly. Conversely, excessively thick board may not cut cleanly with a home cutting machine. For a durable, professional-looking 8x8” shadow box, aim for cardstock between 65-110 lbs (176-300 GSM). This provides structural integrity while remaining cut-friendly.
File Format Confusion: SVG, PDF, PNG, DXF, EPS
The ZIP file contains multiple formats, which is incredibly helpful but can be a source of confusion. Beginners might immediately open the PDFs to print and hand-cut, which is a valid approach. However, a better choice for anyone with a cutting machine like a Cricut or Silhouette is to use the SVG files. A frequent error is trying to use the PNG files for machine cutting; these are raster images (300 dpi for high-quality printing) and are not ideal for direct machine cutting as they lack clean vector paths. Using a PNG can lead to jagged, pixelated cuts.
Before you start, check your software compatibility. If you use Silhouette Studio Basic Edition, you will need the included DXF file. For professionals using Adobe Illustrator or Inkscape, the EPS file is the vector source. Using the wrong format can halt your project. Always extract the entire ZIP and browse the files to select the one that matches your tools.
Assembly Pitfalls: The Importance of Layer Order and Adhesion
The included PDF instructions are crucial. Skipping them to “just figure it out” is a common temptation that usually leads to misaligned layers and a shaky final product. The template has 5 distinct layers that build upon each other to create depth. A typical mistake is gluing layers haphazardly without understanding the spatial order, resulting in a flat-looking box.
Follow the tutorial step-by-step. A practical tip is to lightly label each cut layer (L1, L2, etc.) on the back with a pencil before you begin gluing. Use a precise adhesive; a glue stick is often insufficient for cardstock this weight. A better approach is a thin layer of strong craft glue or a double-sided tape roller applied evenly to avoid bubbling. Allow a moment for the glue to set tacky before pressing layers together to prevent sliding.
Cutting Method Decisions: Hand vs. Machine
You have two paths: cutting by hand or using a machine. Each has trade-offs. Hand-cutting the PDF files is achievable, but the mistake here is using unsuitable scissors. Craft scissors or detail scissors are essential for the intricate curves in a design like Kids on Christmas Day. Standard office scissors will produce choppy edges and fatigue your hand. If choosing this method, prepare a sharp blade for interior details.
Using the ready-to-cut SVG files with a machine is more efficient, but a common oversight is not doing a material test cut. Always cut a small, non-critical section first to calibrate pressure and speed for your specific cardstock. This prevents wasting an entire sheet due to a setting that is too deep (cutting through the mat) or too shallow (not cutting fully).
Creative Applications: Expanding Beyond the Light Box
The description rightly says creativity has no limits, yet many users might only envision the template as a lighted wall décor. This limits the project's potential and satisfaction. Consider these realistic examples:
- Unique Christmas Cards: Scale down one or two of the PNG files, print on festive paper, and assemble a miniature 3D card that will stand out.
- Colorful Art Without Lights: Use a palette of pastel or metallic cardstocks to create a shadow box that shines through contrast and texture, not illumination.
- Mixed Media Base: Mount the assembled box onto a painted or fabric-covered background for a gallery-style piece.
These applications avoid the potential cost and complexity of adding a light panel while maximizing the artistic value.
Final Checks Before You Begin
To ensure a smooth process from download to display, pause and check these points:
- Have you extracted all files from the ZIP and identified the correct format for your tools?
- Do you have cardstock of appropriate weight and color for your intended final look?
- Is your cutting machine calibrated, or are your hand-cutting tools sharp and precise?
- Have you gathered all supplies listed in the PDF instructions (glue, spacers, frame, etc.)?
- Do you have a clean, large workspace to keep the 5 layers organized during assembly?
Addressing these points turns the project into a predictable, enjoyable craft rather than an ad-hoc struggle.
Ultimately, the Kids on Christmas Day Shadow Box Svg is more than a file download; it’s a blueprint for handmade holiday magic. By understanding the material choices, correctly utilizing the provided file formats, meticulously following assembly steps, and thinking creatively beyond the light box, you can avoid common pitfalls that compromise quality. This leads to a satisfying result: a durable, beautiful 3D masterpiece that captures the spirit of Christmas, whether it glows from a shelf or stands proudly as a unique creation.